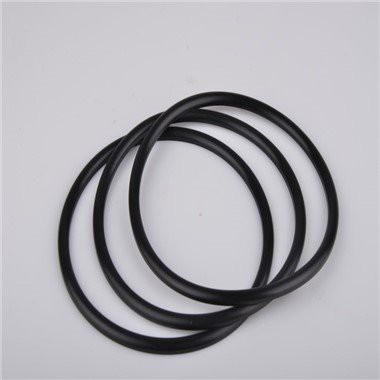

Repairing a damaged solid rubber gasket might seem like a daunting task, but it's totally doable with the right know - how. Hey there! I'm a supplier of Solid Rubber Gaskets, and I've seen all sorts of gasket issues over the years. So, let me walk you through the steps to get your rubber gasket back in shape.
Understanding the Problem
First things first, you gotta figure out what's wrong with the gasket. Is it cracked, torn, or just worn down? A cracked gasket might be due to age, exposure to harsh chemicals, or extreme temperatures. A tear could happen because of improper installation or mechanical stress. And wear and tear are just a natural part of a gasket's life, especially if it's been in use for a long time.
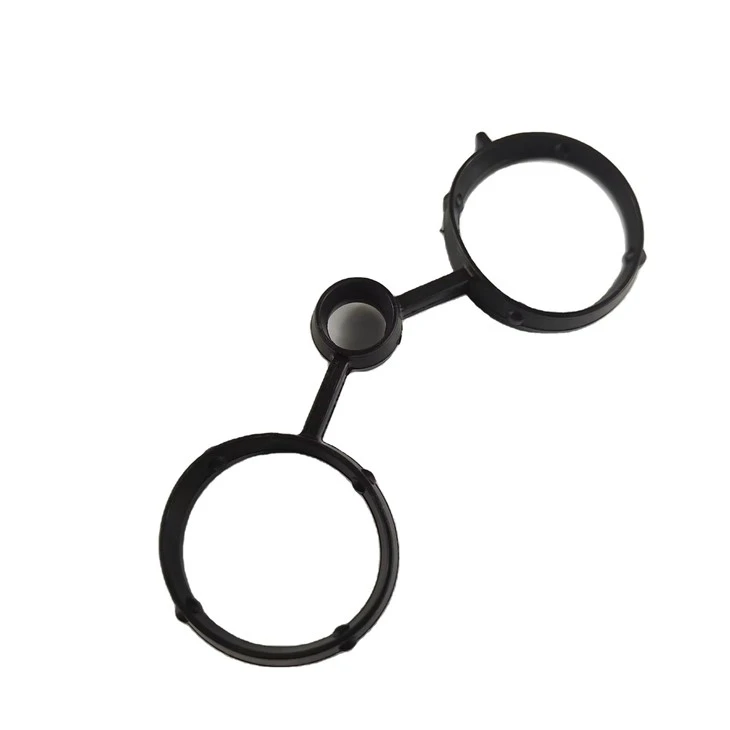
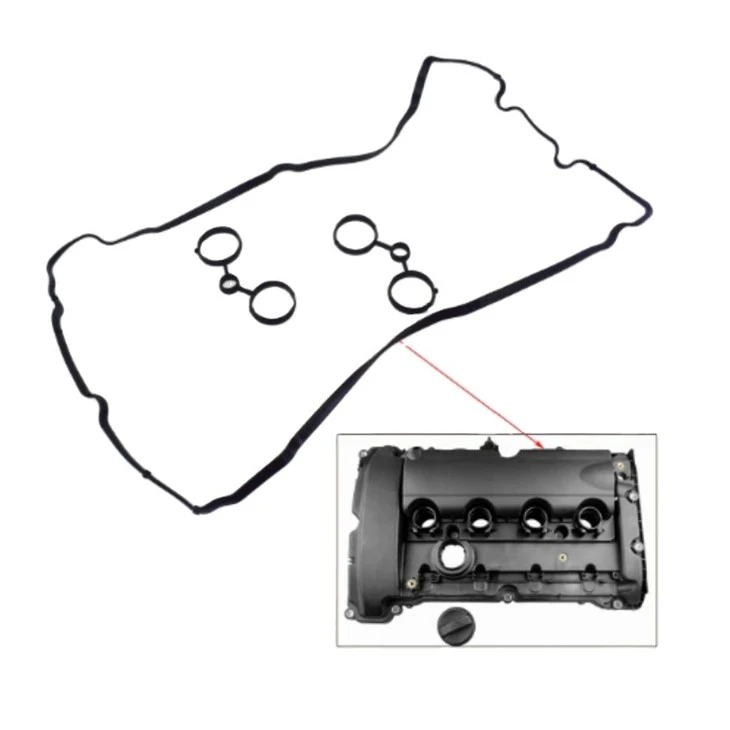
Take a good look at the gasket. If it's a small crack, you might be able to repair it. But if it's a large tear or the gasket is severely worn, you may need to replace it. However, before you rush to buy a new one, it's worth trying to fix it.
Gathering the Necessary Tools and Materials
To repair a damaged solid rubber gasket, you'll need a few things. You'll need a rubber adhesive. Make sure it's suitable for the type of rubber your gasket is made of. You can usually find this at a hardware store or online. You'll also need a clean cloth, some sandpaper (fine - grit), and a pair of scissors or a utility knife.
If the damage is on the surface and you want to smooth it out, you might also need a file or a rubber rasp. And of course, if you're making any modifications to the gasket, you'll need a ruler or a measuring tape.
Pre - repair Preparation
Before you start the repair, clean the gasket thoroughly. Dirt, oil, and grime can prevent the adhesive from sticking properly. Use the clean cloth to wipe the gasket down. If there's stubborn dirt, you can use a mild soap and water solution, but make sure to dry the gasket completely afterward.
Once the gasket is clean, use the sandpaper to gently roughen the area around the damage. This will help the adhesive bond better. Be careful not to sand too hard, as you don't want to damage the gasket further.
Repairing Small Cracks
If you're dealing with a small crack, apply a thin layer of the rubber adhesive along the crack. Make sure to spread it evenly. You can use a small brush or the tip of a toothpick to do this. Then, press the two sides of the crack together firmly. Hold them in place for a few minutes to allow the adhesive to start setting.
You can use a clamp or a piece of tape to keep the crack closed while the adhesive dries. Follow the manufacturer's instructions on the adhesive for the drying time. Usually, it takes a few hours for the adhesive to fully cure.
Fixing Tears
For a torn gasket, the process is a bit more involved. First, cut away any frayed or damaged edges using the scissors or utility knife. Make the edges as clean as possible. Then, apply the rubber adhesive to both sides of the tear.
Place a piece of rubber patch (if you have one) over the tear. The patch should be slightly larger than the tear. Press the patch firmly onto the gasket, making sure there are no air bubbles. Again, use a clamp or tape to hold it in place while it dries.
Dealing with Worn - Out Gaskets
If the gasket is worn out but still intact, you can try to restore its shape and function. Use the file or rubber rasp to smooth out any rough or uneven areas. You might also be able to add a layer of rubber coating to the gasket to make it thicker and more durable.
Testing the Repaired Gasket
Once the adhesive has fully dried and the repair is complete, it's time to test the gasket. Install it back in its original position and make sure it fits properly. Check for any leaks or signs of weakness. If there are no issues, then you've successfully repaired the gasket.
Product Recommendations
We offer a wide range of solid rubber gaskets for different applications. If you're looking for something to absorb shocks, our Shockproof Washers are a great choice. They're designed to withstand high - impact forces and provide excellent cushioning.
For toilet applications, our Toilet Rubber Gasket is highly reliable. It provides a tight seal and prevents leaks, ensuring a clean and dry bathroom environment.
If you own a Peugeot vehicle, our Peugeot Rubber Gasket is specifically designed to meet the requirements of Peugeot engines. It offers a perfect fit and long - lasting performance.
Conclusion and Call to Action
Repairing a damaged solid rubber gasket can save you time and money. But sometimes, it might be more practical to replace the gasket. Whether you need a repair or a new gasket, we've got you covered.
If you're interested in our Solid Rubber Gaskets or have any questions about gasket repair, don't hesitate to reach out. We'd love to have a chat with you and discuss your needs. Contact us to start the procurement process and let's find the best solution for your gasket requirements.
References
- "Rubber Material Handbook" by Don Campbell
- "Industrial Sealing Technology" by John D. Parsons
- Manufacturer's instructions of various rubber adhesives and gasket products