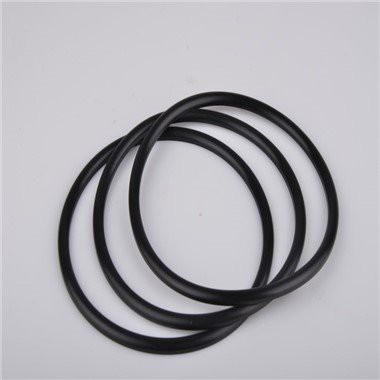
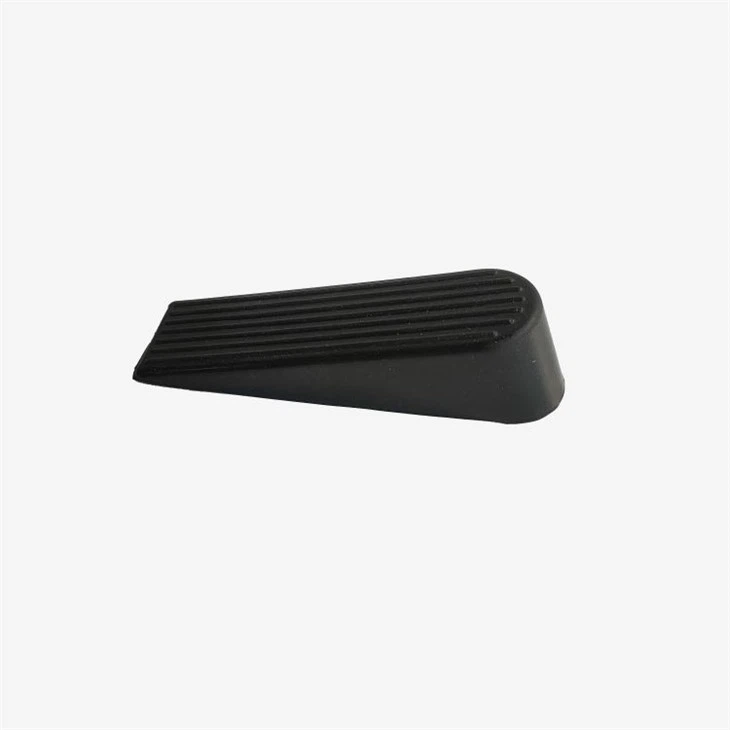
As a seasoned supplier of rubber stoppers, I've witnessed firsthand the diverse needs and creative impulses of our customers. While we offer a wide range of high - quality rubber stoppers, including Rubber Floor Water Stopper For Home, Silicone Rubber Stopper Plug, and Self Adhesive Door Bumpers, there's a growing interest in making homemade rubber stoppers. This DIY approach can be both cost - effective and a fun way to customize stoppers according to specific requirements. In this blog, I'll guide you through the process of making a homemade rubber stopper.

Understanding the Basics of Rubber Stoppers
Before delving into the making process, it's essential to understand what rubber stoppers are and their applications. Rubber stoppers are used to seal containers, prevent leaks, and provide a barrier against air, water, or other substances. They come in various shapes and sizes, depending on the intended use. For example, in a laboratory setting, small, precision - made stoppers are used to seal test tubes and flasks. In household applications, larger stoppers can be used to plug drains or as door bumpers.
Materials and Tools You'll Need
Materials
- Raw Rubber: You can source raw rubber from a local craft store or online. Latex rubber is a popular choice due to its flexibility and durability. However, if you're looking for a more heat - resistant option, silicone rubber might be a better fit.
- Mold Release Agent: This helps the rubber stopper to easily release from the mold. You can use commercial mold release sprays or natural alternatives like cooking oil.
- Colorants (Optional): If you want to add some color to your rubber stopper, you can use rubber - compatible colorants. These are available in liquid or powder form.
Tools
- Mold: You can use a pre - made mold or create your own. For simple stoppers, you can use items like plastic bottles or small containers as molds. Make sure the mold is clean and free of any debris.
- Mixing Container and Stirring Stick: You'll need a container to mix the raw rubber and any additives, along with a stick to stir the mixture thoroughly.
- Scissors or a Knife: To trim the excess rubber after the stopper has cured.
Step - by - Step Process
Step 1: Prepare the Mold
If you're using a pre - made mold, clean it thoroughly with soap and water, then dry it completely. Apply a thin layer of mold release agent to the inside of the mold. This will ensure that the rubber stopper doesn't stick to the mold when it's cured.
If you're making your own mold, you can use a plastic bottle or a small container. Cut the bottle or container to the desired shape and size of the stopper. Make sure the opening is smooth and the walls are straight.
Step 2: Mix the Rubber
Follow the instructions on the raw rubber package to mix it properly. If you're using liquid rubber, pour it into the mixing container. If you're adding colorants, do so at this stage. Stir the mixture thoroughly to ensure an even distribution of the colorant.
It's important to note that different types of rubber have different mixing ratios and curing times. For example, some silicone rubbers require a two - part mixing process, where you combine a base and a catalyst in a specific ratio.
Step 3: Pour the Rubber into the Mold
Slowly pour the mixed rubber into the prepared mold. Make sure to fill the mold completely, but avoid over - filling. Tap the mold gently on a flat surface to remove any air bubbles that might have formed during the pouring process.
Step 4: Let the Rubber Cure
The curing time depends on the type of rubber you're using. Some rubbers cure at room temperature, while others require heat. If your rubber requires heat, you can place the mold in an oven set to the appropriate temperature. Follow the manufacturer's instructions carefully to ensure proper curing.
During the curing process, avoid disturbing the mold. Let the rubber sit undisturbed until it has fully cured. This can take anywhere from a few hours to a couple of days, depending on the rubber and the environmental conditions.
Step 5: Remove the Stopper from the Mold
Once the rubber has cured, gently remove the stopper from the mold. If the stopper is stuck, you can use a small tool like a toothpick to carefully loosen it. Trim any excess rubber around the edges of the stopper using scissors or a knife.
Quality Control and Testing
After making your homemade rubber stopper, it's important to perform some quality control checks. Check the stopper for any visible defects such as air bubbles, cracks, or uneven surfaces. If you notice any defects, you can try to fix them or make a new stopper.
To test the stopper's functionality, try using it to seal a container. Make sure it fits snugly and doesn't allow any leaks. If the stopper is too loose or too tight, you may need to adjust the mold size or the amount of rubber used in the next attempt.
Advantages of Homemade Rubber Stoppers
Making your own rubber stoppers has several advantages. Firstly, it allows for customization. You can create stoppers in unique shapes, sizes, and colors to suit your specific needs. Secondly, it can be cost - effective, especially if you only need a small number of stoppers. Finally, it's a fun and rewarding DIY project that can enhance your skills and creativity.
When to Choose Our Professional Products
While homemade rubber stoppers can be a great option for some applications, there are times when it's better to choose our professional products. Our Rubber Floor Water Stopper For Home is designed to provide a high - quality, reliable solution for preventing water leaks on floors. The Silicone Rubber Stopper Plug is ideal for applications that require heat resistance and chemical stability. And the Self Adhesive Door Bumpers are pre - made with precision to ensure a perfect fit and long - lasting performance.
Conclusion
Making a homemade rubber stopper can be a fulfilling experience that combines creativity and practicality. By following the steps outlined in this blog, you can create your own customized rubber stoppers for various applications. However, if you need high - quality, reliable rubber stoppers, don't hesitate to explore our range of products. We're committed to providing the best solutions for your rubber stopper needs. If you're interested in purchasing our products or have any questions, please feel free to contact us for a detailed discussion and procurement negotiation.
References
- "Rubber Manufacturing Handbook" - A comprehensive guide on rubber processing and manufacturing techniques.
- Various online resources on DIY rubber projects and rubber stopper applications.